{{FULL_COURSE}} Homework 5 - Even More OpenGL Fun
Overview
-----
You will continue to practice working with OpenGL shaders by writing
code to perform various post-processing effects on the scenes rendered by the
surface shaders from the previous assignment. You will also begin working with
procedural noise functions to perform visual deformations and colorations
on your scenes.
Supplied Code
---------
You will push your code to your hw04 Github repository since it builds from
the same base code.
Conceptual Questions
-------------
None for this part of the OpenGL assignment.
Help Log (5 points)
-------
Maintain a log of all help you receive and resources you use. Make sure the date
and time, the names of everyone you work with or get help from, and every URL
you use, except as noted in the collaboration policy. Also briefly log your
question, bug or the topic you were looking up/discussing. Ideally, you should
also the answer to your question or solution to your bug. This will help you
learn and provide a useful reference for future assignments and exams. This also
helps us know if there is a topic that people are finding difficult.
If you did not use external resources or otherwise receive help, please submit
a help log that states you did not receive external help.
You may submit your help log as an ASCII (plain) text file or as a PDF. Refer
to the Policies section of the course web site for more specifications.
Code Requirements (Due Wednesday, October 16 at 11:59 PM)
-------
For the sections that require you to modify shader files, you can find the
shaders under `Resources/glsl.qrc/glsl/post` in Qt Creator's project file
browser.
### Greyscale and vignette shader (15 points) ###
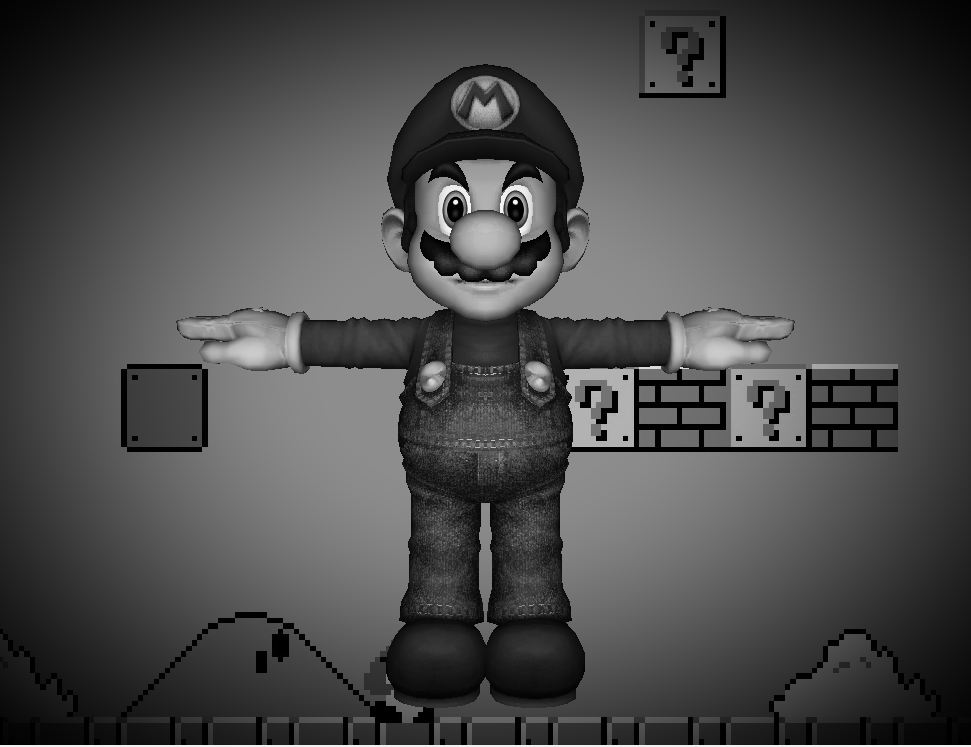
Add code to the shader file `greyscale.frag.glsl` in order to implement a
post-process effect that converts your 3D scene to greyscale and applies a
vignette effect to the screen edges.
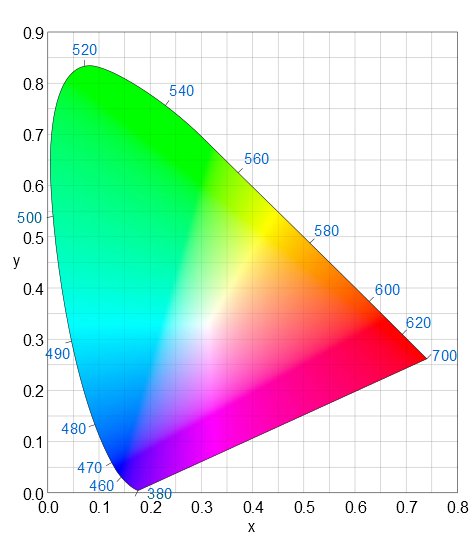
Converting a color to greyscale is actually quite simple; you just take a
weighted average of the red, green, and blue channels of the original color
using this formula: `grey = 0.21 * red + 0.72 * green + 0.07 * blue`. You'll
notice that the green channel has the highest contribution of the three by a
large margin; this is because the human eye is most sensitive to green light
so we perceive changes in green color much more easily. If you remember the
CIE color gamut of light perceived by humans, you'll notice that the green
area is far larger than the red or blue areas, and that the blue area is the
smallest:
Applying a vignette effect is also fairly simple. You want to find the distance
at which a fragment lies from the screen's center, and use that as the input to
a function to alter the brightness of the image. We'll leave the exact
implementation up to you to determine, but here is a render we produced using
greyscale conversion and vignetting:
 ### Gaussian Blur Shader (15 points) ###
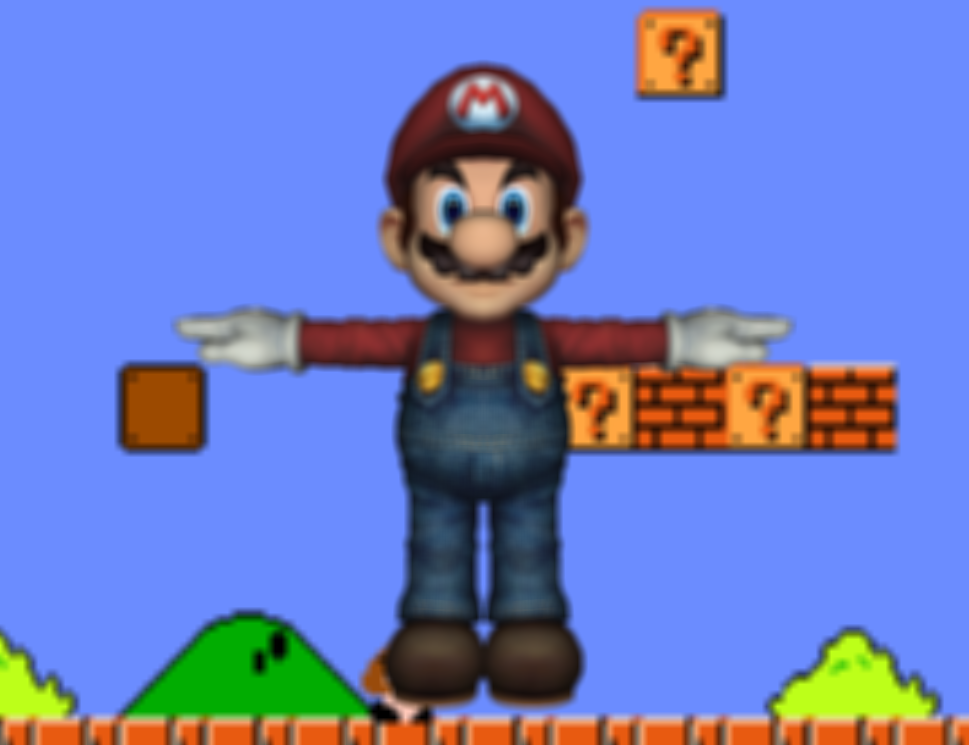
Add code to the shader file `gaussian.frag.glsl` in order to implement a
post-process effect that blurs your 3D scene. A Gaussian blur effectively
performs a weighted average of NxN pixels and stores the result in the pixel
at the center of that NxN box (this means N must always be odd). The larger
the blur radius, the smoother the blur will be. Additionally, altering the
weighting of the blur will increase or decrease its intensity. If you take a
look at slides 23 - 24 in the procedural color slides, you'll have a better
idea of how a Gaussian blur works.
Here is what we produced with an 11x11 Gaussian filter with a sigma of 9; you
can find a Gaussian kernel generator [here](http://dev.theomader.com/gaussian-kernel-calculator/):
### Gaussian Blur Shader (15 points) ###
Add code to the shader file `gaussian.frag.glsl` in order to implement a
post-process effect that blurs your 3D scene. A Gaussian blur effectively
performs a weighted average of NxN pixels and stores the result in the pixel
at the center of that NxN box (this means N must always be odd). The larger
the blur radius, the smoother the blur will be. Additionally, altering the
weighting of the blur will increase or decrease its intensity. If you take a
look at slides 23 - 24 in the procedural color slides, you'll have a better
idea of how a Gaussian blur works.
Here is what we produced with an 11x11 Gaussian filter with a sigma of 9; you
can find a Gaussian kernel generator [here](http://dev.theomader.com/gaussian-kernel-calculator/):
 ### Sobel Filter Shader (15 points) ###
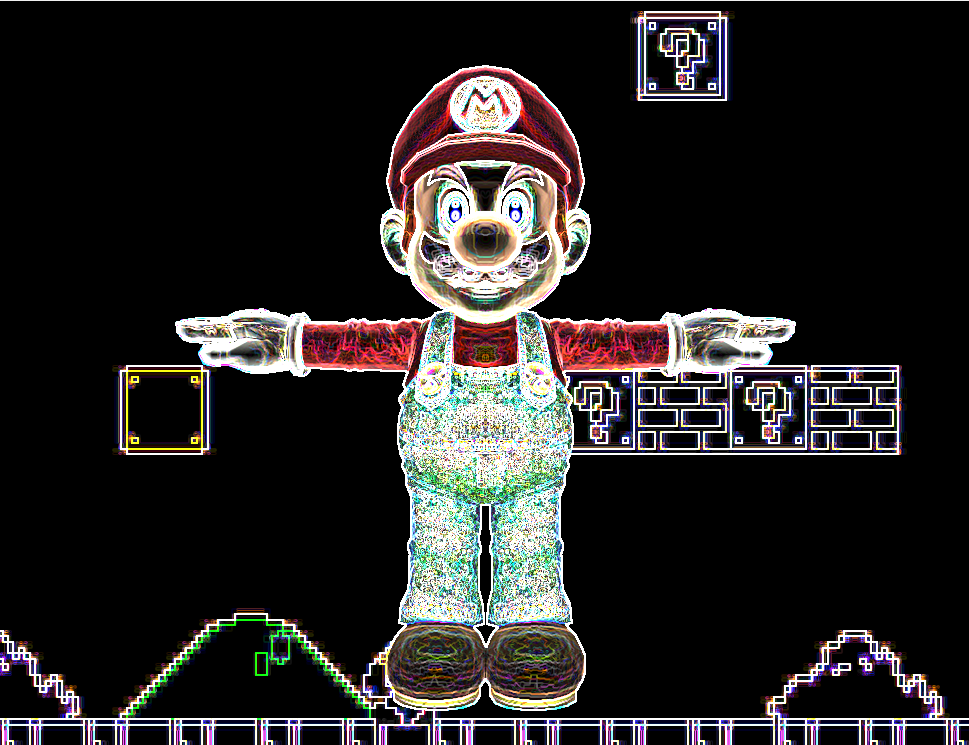
Add code to the shader file `sobel.frag.glsl` in order to implement a
post-process effect that detects and enhances the edges of shapes in your 3D
scene. What a Sobel filter effectively does is compute the approximate gradient
(i.e. slope) of the color at each pixel, and where the color abruptly changes it
returns a high value, otherwise it returns roughly black, or a slope of zero.
To compute a Sobel filter, you need two kernel matrices: one for computing the
horizontal gradient, and one for computing the vertical gradient:
```
Horizontal =
| 3 0 -3 |
| 10 0 -10 |
| 3 0 -3 |
Vertical =
| 3 10 3 |
| 0 0 0 |
| -3 -10 -3 |
```
Multiply each of these matrices by the 3x3 set of pixels surrounding a pixel to
compute its gradients, then set your pixel's color to the length of your 2D
gradient (i.e. the square root of the sum of both gradients squared).
This is what we rendered using the Sobel kernels above:
### Sobel Filter Shader (15 points) ###
Add code to the shader file `sobel.frag.glsl` in order to implement a
post-process effect that detects and enhances the edges of shapes in your 3D
scene. What a Sobel filter effectively does is compute the approximate gradient
(i.e. slope) of the color at each pixel, and where the color abruptly changes it
returns a high value, otherwise it returns roughly black, or a slope of zero.
To compute a Sobel filter, you need two kernel matrices: one for computing the
horizontal gradient, and one for computing the vertical gradient:
```
Horizontal =
| 3 0 -3 |
| 10 0 -10 |
| 3 0 -3 |
Vertical =
| 3 10 3 |
| 0 0 0 |
| -3 -10 -3 |
```
Multiply each of these matrices by the 3x3 set of pixels surrounding a pixel to
compute its gradients, then set your pixel's color to the length of your 2D
gradient (i.e. the square root of the sum of both gradients squared).
This is what we rendered using the Sobel kernels above:
 ### Fake Bloom Shader (15 points) ###
Add code to the shader file `bloom.frag.glsl` in order to implement a
post-process effect that applies a "bloom" effect to your 3D scene. Normally,
one would actually use two post-process passes to properly generate a bloom
effect, but we're going to fake it for this assignment. To implement bloom,
one needs to take a weighted average of all the pixels surrounding the current
pixel, but only factor them into the average if their luminance is above a given
threshold. The higher the threshold, the smaller the bloom effect. Once one has
acquired this weighted average, one just adds it to the base color of the
current pixel. If you'd like to read more about bloom, take a look at slide
25 of the procedural color slide deck.
Here is the fake bloom we achieved using a 11x11 Gaussian kernel with a sigma
of 9, and a luminance threshold of 0.6:
### Fake Bloom Shader (15 points) ###
Add code to the shader file `bloom.frag.glsl` in order to implement a
post-process effect that applies a "bloom" effect to your 3D scene. Normally,
one would actually use two post-process passes to properly generate a bloom
effect, but we're going to fake it for this assignment. To implement bloom,
one needs to take a weighted average of all the pixels surrounding the current
pixel, but only factor them into the average if their luminance is above a given
threshold. The higher the threshold, the smaller the bloom effect. Once one has
acquired this weighted average, one just adds it to the base color of the
current pixel. If you'd like to read more about bloom, take a look at slide
25 of the procedural color slide deck.
Here is the fake bloom we achieved using a 11x11 Gaussian kernel with a sigma
of 9, and a luminance threshold of 0.6:
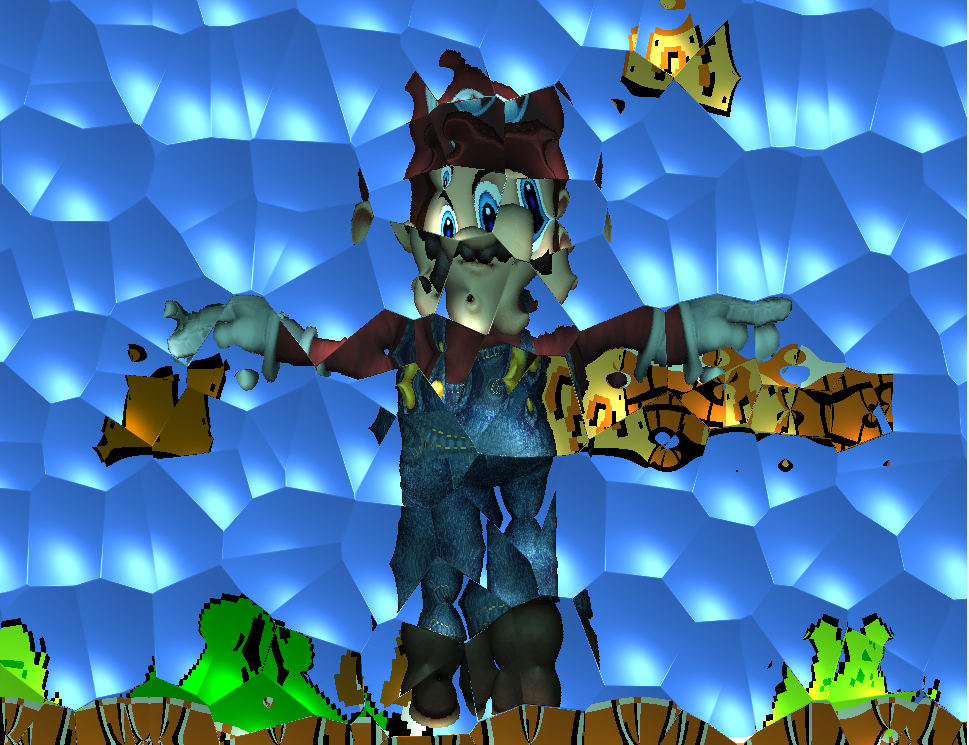
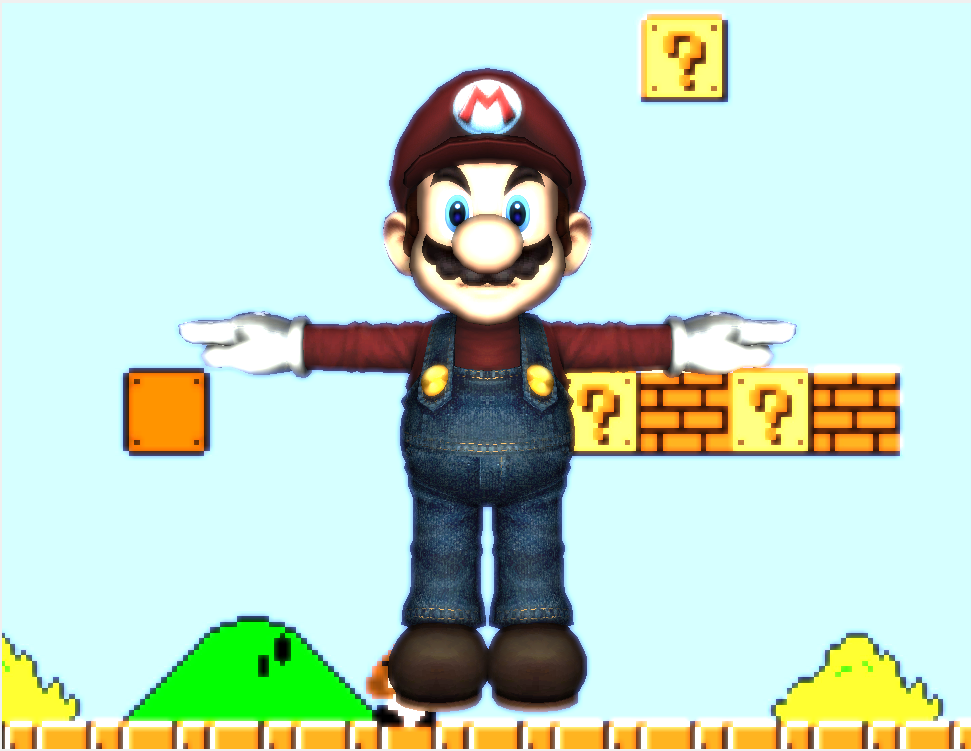 ### Custom noise-based post-process shader (30 points) ###
Modify `worleywarp.frag.glsl` so that the shader uses Worley noise in some
way to modify the 3D scene. We encourage you to be creative with your
post-process effect; your score in this section is partially dependent on how
complex your effect is. The more visually interesting (and perhaps
aesthetically pleasing) your images, the more points you'll receive. For
inspiration, here are some effects we achieved using Worley noise
as our base:
### Custom noise-based post-process shader (30 points) ###
Modify `worleywarp.frag.glsl` so that the shader uses Worley noise in some
way to modify the 3D scene. We encourage you to be creative with your
post-process effect; your score in this section is partially dependent on how
complex your effect is. The more visually interesting (and perhaps
aesthetically pleasing) your images, the more points you'll receive. For
inspiration, here are some effects we achieved using Worley noise
as our base:
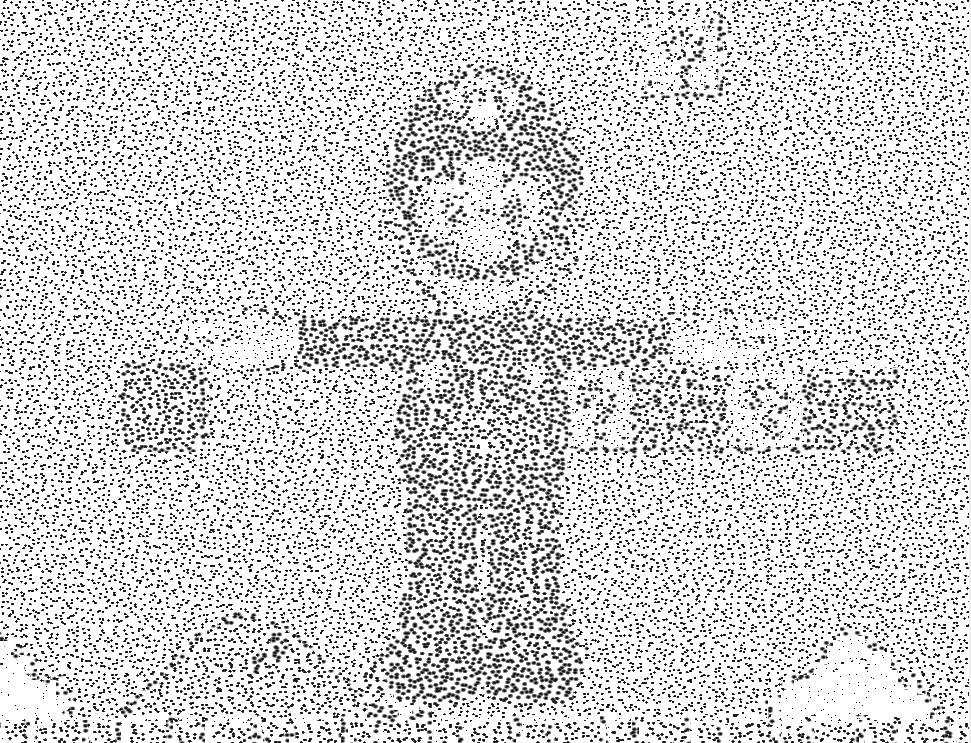
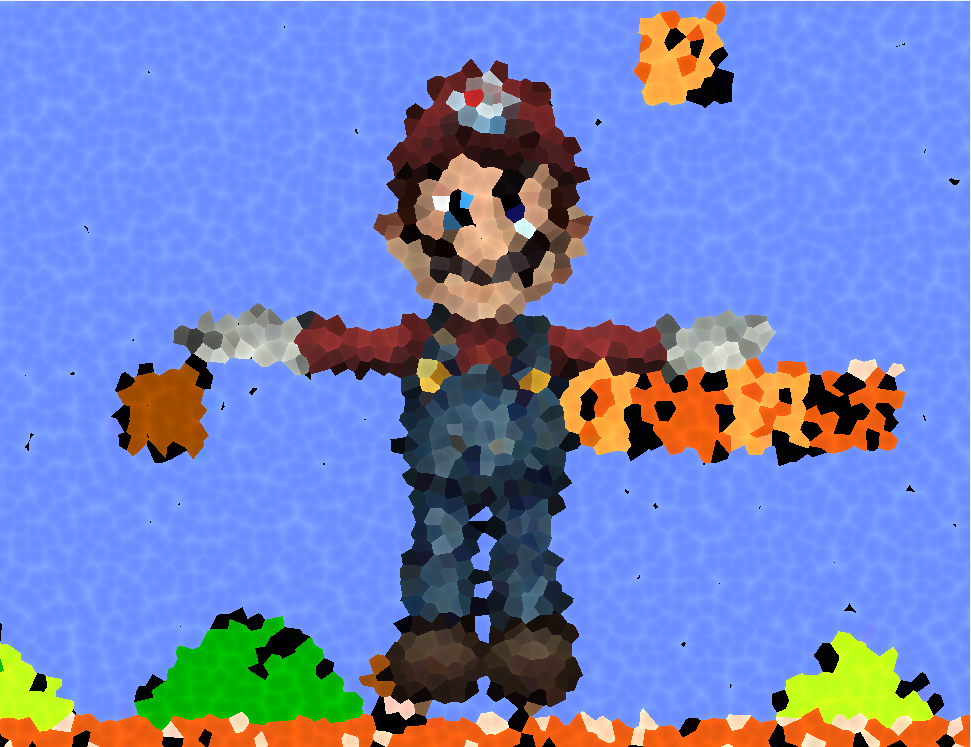
 Here are some ideas for how to use noise to modify your image:
* Take the gradient of the noise (i.e. sample the noise at +/-1 X and +/-1 Y and
take the difference) and use it as a directional vector for UV displacement
* Treat the gradient as a surface normal (i.e. use the X and Y gradients as
the X and Y of a normal, and set the normal's Z to` sqrt(1 - x*x - y*y)`)
and use the normal in a surface reflection function (e.g. Blinn-Phong)
* Use the noise as the `t` input to a cosine-curve gradient and modify the
image's original color with the palette color
* Sample the image's original color at each of the random points' locations and
use that color to influence the color of all fragments that belong to a given
random point
Additionally, here are some general post-process effect ideas:
* Remember, you can re-use and combine effects from your other shaders!
* Chromatic aberration, which reads from the red, green, and blue channels of
the original image at slightly different UV coordinates. This produces three
different images overlaid on each other, one for each channel.
* You can extend chromatic aberration to Hue/Saturation/Value space if you
wish. You can convert an RGB color to HSV, but we'll let you look up the
formula if you want to use it.
* Use a sine or cosine curve to apply a CRT-TV effect to the entire screen;
darken or brighten rows of pixels based on the value of the curve. The higher
the frequency of your curve, the smaller and more frequent the lines become.
* You can find additional inspiration from [ShaderToy](https://www.shadertoy.com/).
Coding Style (10 points)
-------
We will provide you with feedback on the organization and clarity of the code
you have written for this assignment. Please refer to our course style guide as
you implement your shaders and VBOs.
Extra Credit (Maximum 20 points)
---------
You may create additional post-process effect shaders for extra credit. The more
complex or visually interesting the effect, the more points you'll receive.
You may also add additional surface shaders that utilize techniques not used in
homework 4 for extra credit. We suggest playing with signed distance functions
and modifications of various noise functions if you don't have any immediate ideas.
To add new shaders, you will have to add more `.glsl` files to your project. Add
additional options to the shader drop-down menus in `shadercontrols.ui`, add
your new `.glsl` files to `glsl.qrc`, and add code to `MyGL::createShaders` to
add your new shader to `MyGL`'s list of shader programs.
If you are interested in playing with signed distance functions,
[here is a useful resource](http://iquilezles.org/www/articles/raymarchingdf/raymarchingdf.htm).
Here is a shader we created by rendering the red, green, and blue channels of
the image at different offsets:
Here are some ideas for how to use noise to modify your image:
* Take the gradient of the noise (i.e. sample the noise at +/-1 X and +/-1 Y and
take the difference) and use it as a directional vector for UV displacement
* Treat the gradient as a surface normal (i.e. use the X and Y gradients as
the X and Y of a normal, and set the normal's Z to` sqrt(1 - x*x - y*y)`)
and use the normal in a surface reflection function (e.g. Blinn-Phong)
* Use the noise as the `t` input to a cosine-curve gradient and modify the
image's original color with the palette color
* Sample the image's original color at each of the random points' locations and
use that color to influence the color of all fragments that belong to a given
random point
Additionally, here are some general post-process effect ideas:
* Remember, you can re-use and combine effects from your other shaders!
* Chromatic aberration, which reads from the red, green, and blue channels of
the original image at slightly different UV coordinates. This produces three
different images overlaid on each other, one for each channel.
* You can extend chromatic aberration to Hue/Saturation/Value space if you
wish. You can convert an RGB color to HSV, but we'll let you look up the
formula if you want to use it.
* Use a sine or cosine curve to apply a CRT-TV effect to the entire screen;
darken or brighten rows of pixels based on the value of the curve. The higher
the frequency of your curve, the smaller and more frequent the lines become.
* You can find additional inspiration from [ShaderToy](https://www.shadertoy.com/).
Coding Style (10 points)
-------
We will provide you with feedback on the organization and clarity of the code
you have written for this assignment. Please refer to our course style guide as
you implement your shaders and VBOs.
Extra Credit (Maximum 20 points)
---------
You may create additional post-process effect shaders for extra credit. The more
complex or visually interesting the effect, the more points you'll receive.
You may also add additional surface shaders that utilize techniques not used in
homework 4 for extra credit. We suggest playing with signed distance functions
and modifications of various noise functions if you don't have any immediate ideas.
To add new shaders, you will have to add more `.glsl` files to your project. Add
additional options to the shader drop-down menus in `shadercontrols.ui`, add
your new `.glsl` files to `glsl.qrc`, and add code to `MyGL::createShaders` to
add your new shader to `MyGL`'s list of shader programs.
If you are interested in playing with signed distance functions,
[here is a useful resource](http://iquilezles.org/www/articles/raymarchingdf/raymarchingdf.htm).
Here is a shader we created by rendering the red, green, and blue channels of
the image at different offsets:
 Submission
--------
We will grade the code you have pushed to your GitHub repository, so make sure
that you have correctly committed all of your files! Once you have pushed your
finished project to GitHub, submit a link to your commit through the course
dashboard. If you click on the Commits tab of your repository on Github, you
will be brought to a list of commits you've made. Simply click on the one you
wish for us to grade, then copy and paste the URL of the page into your text
file.
Submission
--------
We will grade the code you have pushed to your GitHub repository, so make sure
that you have correctly committed all of your files! Once you have pushed your
finished project to GitHub, submit a link to your commit through the course
dashboard. If you click on the Commits tab of your repository on Github, you
will be brought to a list of commits you've made. Simply click on the one you
wish for us to grade, then copy and paste the URL of the page into your text
file.